Custom Authorizer
Now that our stack has been created, let’s go look at the infrastructure we’ve introduce. In the new multi-tenant model we’re building in this lab, each request that comes in from our client will include tenant context in a JWT token (we’ll look more about at how that works when we get to client in this lab). The token includes a tenant identifier that is passed to each call. The API Gateway that then routes these client requests to the appropriate tenant stack (silo). The first step in making this routing work is to construct the API Gateway and associate a custom authorizer with it that will extract our tenant context and inject a header that will be used for downstream routing of traffic to specific tenant stacks.
A custom authorizer is simply a Lambda function that is invoked with each request that is processed by the API Gateway. Within this Lambda function, we can inspect the incoming token and inject context for downstream processing. To view the customer authorizer that was provisioned, navigate to the API Gateway in the AWS console. And select the “saas-factory-srvls-wrkshp-lab2” from the list of APIs on the left-hand side of the page. Ignore if you see an error stating “You are not authorized to perform this operation”. Then, with this API selected, choose “Authorizers” from the menu of options that were displayed when you selected the API. Upon selecting this option, you’ll see a page similar to the following:
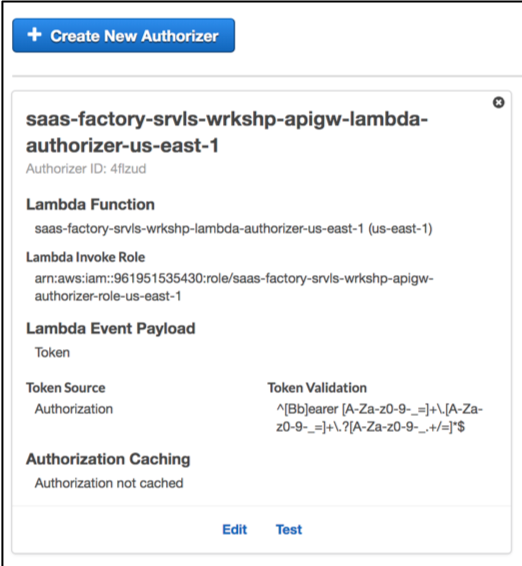
You’ll notice here that our authorizer is associated with a specific Lambda function. In this case, our function is entitled “saas-factory-srvls-wrkshp-lambda-authorizer-us-east-1”.