Tenant Routing (Revisited)
Now that we’ve successfully added a tenant and some products to our system, we can now take a closer look at how the system provisioned a stack for each tenant and configured the routing to direct individual tenants to their respective silos. We’ll start this process by looking at how our tenant was provisioned into Amazon Cognito (which authenticates users and provides the essential JWT token that controls the flow of tenants through the system).
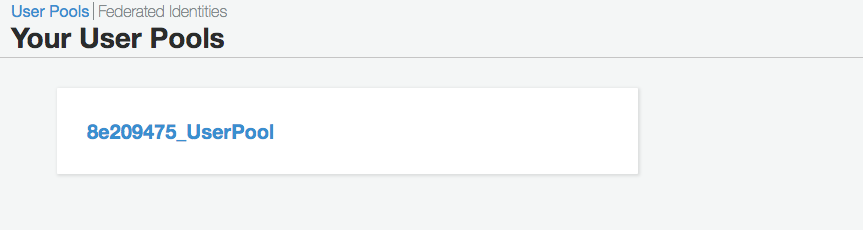
Navigate to the Cognito service within the AWS console and select the “Mange User Pools” from the landing page. In this example, we’re provisioning a separate user pool for each tenant. These pools let us group and configure policies separately for each tenant. After selecting “Manager User Pools”, you’ll be presented with a list of user pools similar to the following:
Each time you add a new tenant to the system, a new pool will be created. At this point, you should have only one pools since we’ve only added one tenant. Select that pool from the user pool page. This will provide you with a summary of the pool configuration. Now, select “Users and groups” from the left-hand side of the page to view users that currently reside in this pool. The page will appear as follows:
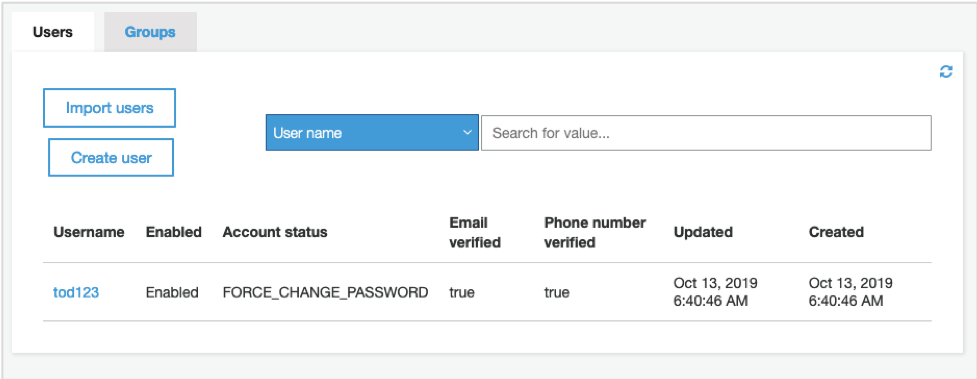
Listed here will be the user that you registered when you created your tenant. Select the link for your user name to view the attributes of the user you created. A page similar to the following will then appear:
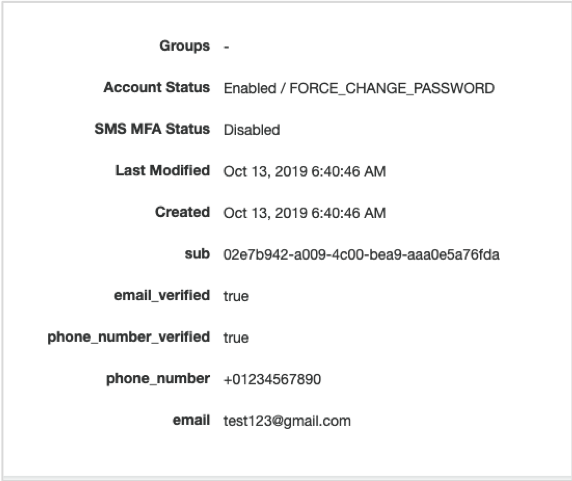
When we provisioned the tenant user pool, we configured specific attributes that would be allowed to track this user’s relationship to a specific tenant. This is shown in the customer attribute of “tenant-id”. This tenant identifier will now be included in the JWT token that is returned from your authentication experience and will be passed through as part of all our interactions with downstream services.